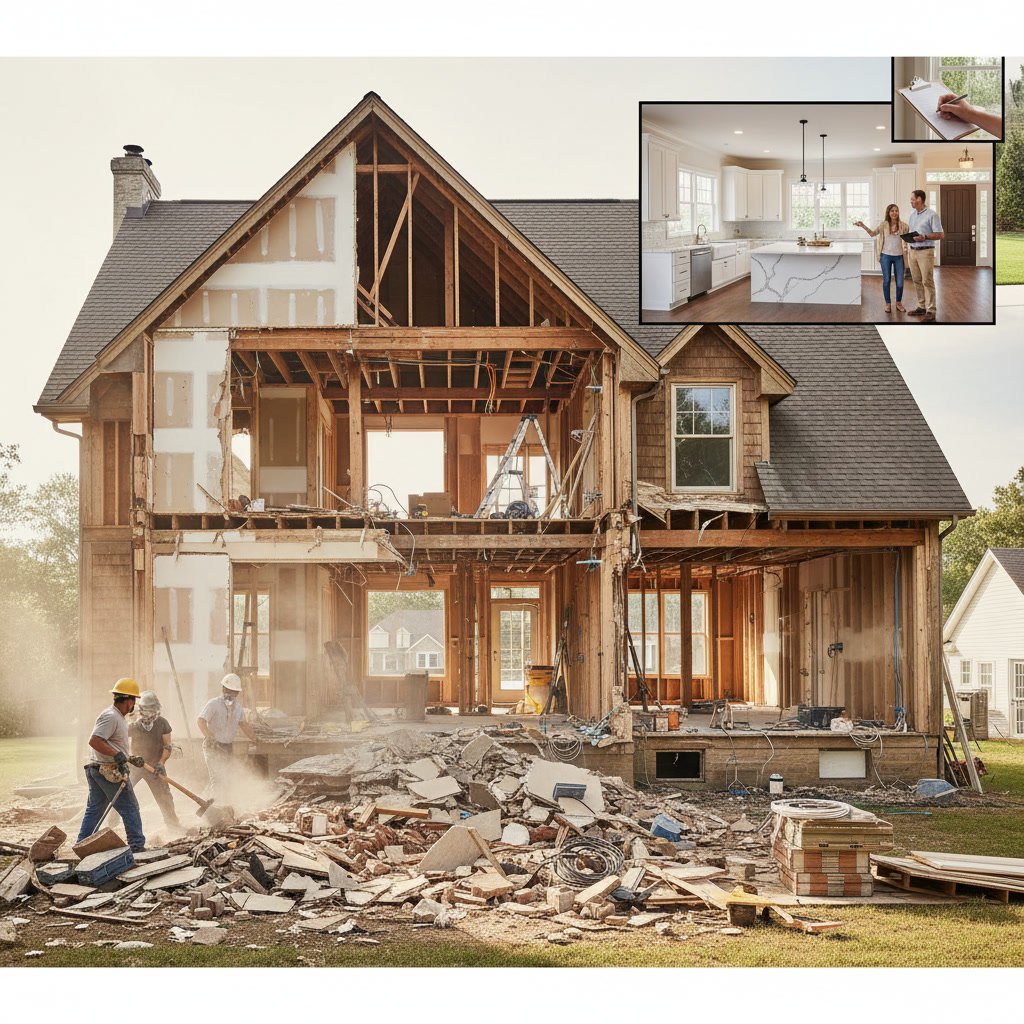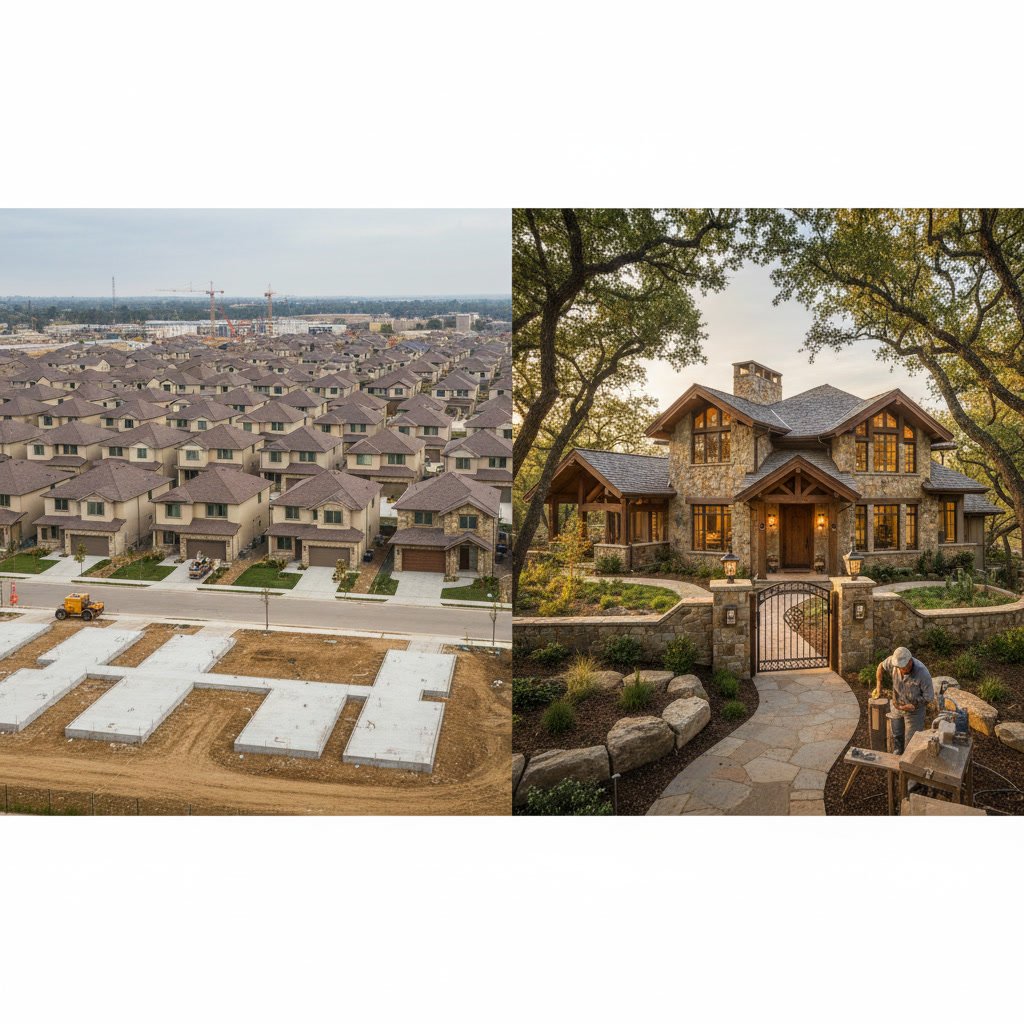

The new construction exterior finish phase transforms your project from a weatherproofed shell into a complete home ready for occupancy. This stage typically begins once rough inspections pass and includes siding installation, exterior trim carpentry, roofing finishes, stucco or masonry work, painting, driveway and walkway installation, and final landscaping. Homeowners often underestimate the coordination required during this phase, as weather, material lead times, and sequencing errors can delay your certificate of occupancy by weeks or months if not managed correctly.
Why Exterior Finishes Require Different Scheduling Than Interior Work
Interior work progresses in a relatively controlled environment. Exterior finishes depend heavily on weather conditions, material curing times, and sequential dependencies that cannot be rushed. A sudden rain event can halt stucco application for days. Paint requires specific temperature and humidity ranges. Concrete driveways need a full cure cycle before heavy equipment can cross them.
Experienced general contracting teams build buffer time into exterior schedules and maintain backup task lists so crews can pivot when weather disrupts the primary sequence. This flexibility prevents costly downtime and keeps your project moving toward completion.
How Weather-Resistant Barriers and Flashing Set the Foundation
Before any visible finish material goes up, your home needs a complete weather-resistant barrier system. This includes house wrap or building paper, properly integrated flashing at all window and door openings, and sealed penetrations for utilities and vents. These layers protect the structural framing and sheathing from water intrusion that could lead to mold, rot, or structural failure years down the line.
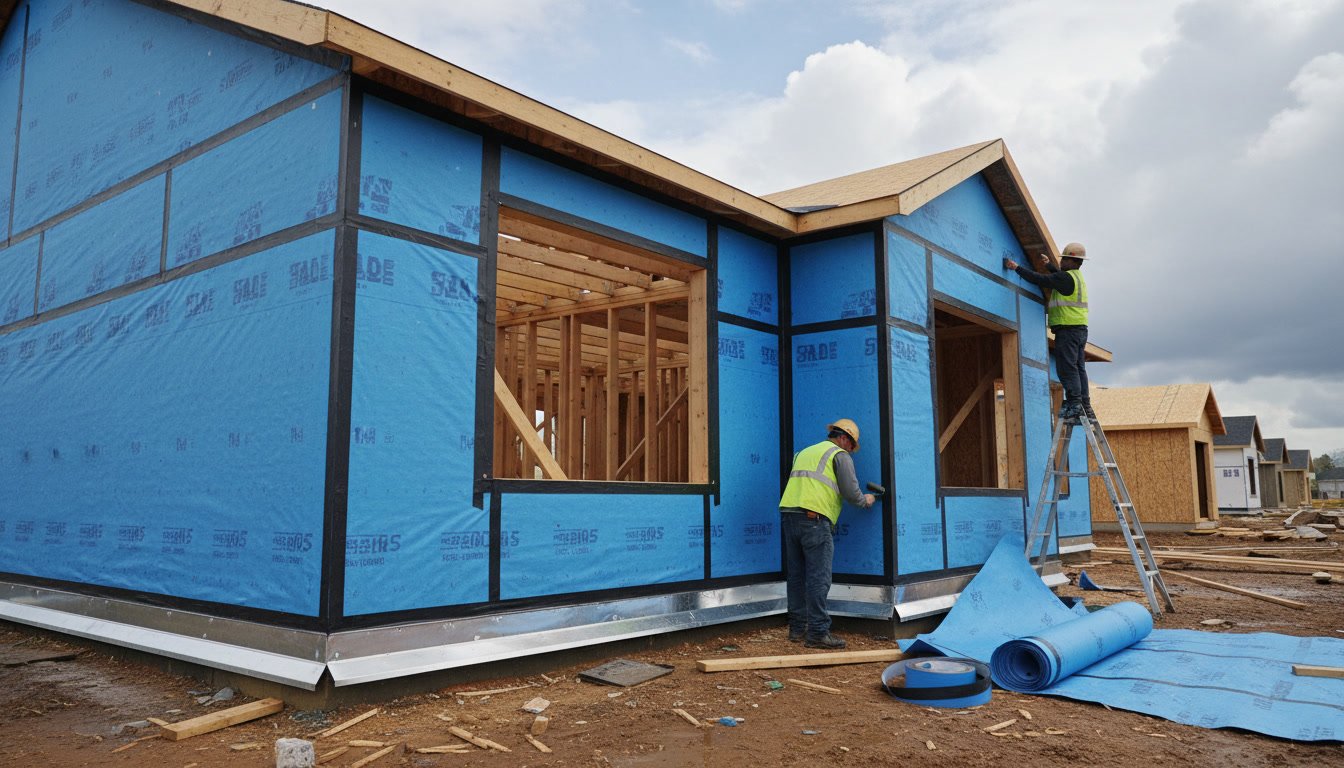
Quality installation at this stage is invisible once siding covers it, but it determines whether your home stays dry during Florida’s intense summer storms. Window head flashing, for example, must lap over the house wrap in a shingle pattern so water cannot wick behind the barrier. Inspectors verify this work before allowing exterior finishes to proceed.
Siding Installation Methods and Material Choices
Siding selection affects both the timeline and the technical approach. Fiber cement board requires different fastening schedules, expansion gaps, and flashing details than vinyl or wood siding. Stucco involves a multi-coat system applied over several days with specific curing intervals between coats. Masonry veneer needs steel lintels, weep holes, and air gaps behind the brick.
Each material also dictates the trim and corner details. Fiber cement uses dedicated corner boards and trim pieces. Stucco requires metal corner beads and control joints to manage cracking. The siding phase typically takes two to four weeks for an average single-family home, depending on architectural complexity and the number of corners, gables, and detail areas.
Exterior Trim Carpentry and Architectural Details in Stuart
Trim carpentry defines the visual character of your home. This includes fascia boards, soffits, rake boards, window and door casings, columns, railings, and decorative elements like corbels or brackets. In coastal Southeast Florida, all exterior wood must resist moisture, salt air, and intense UV exposure.
Many builders in the Stuart area now use cellular PVC or composite trim materials that will not rot, split, or require frequent repainting. These materials cost more upfront but eliminate the maintenance cycle that traditional wood demands in this climate. Proper installation includes back-priming all cut edges, using stainless steel fasteners, and maintaining expansion gaps to prevent buckling during temperature swings.
Roofing Finish Work Beyond the Shingles
While the primary roof covering goes on earlier in the construction sequence, finish roofing work happens during the exterior phase. This includes installing ridge caps, hip caps, and all roof penetration flashings for vents, pipes, and chimneys. Gutter and downspout installation also occurs now, as these systems tie directly into the final grading and drainage plan.
High-performance homes often add continuous ridge vents for attic ventilation at this stage. Properly balanced intake and exhaust ventilation reduces attic temperatures by 20 to 30 degrees in summer, extending shingle life and reducing cooling costs. The roofing crew also installs drip edge at eaves and rakes, a critical detail that channels water into gutters and away from fascia boards.
Stucco Application and the Three Coat System
Stucco remains popular in Florida for its durability, wind resistance, and traditional aesthetic. The three-coat system includes a scratch coat applied directly to the wall sheathing or over rigid foam insulation, a brown coat that levels the surface, and a finish coat that provides color and texture. Each coat requires a curing period, typically 48 to 72 hours, before the next can be applied.
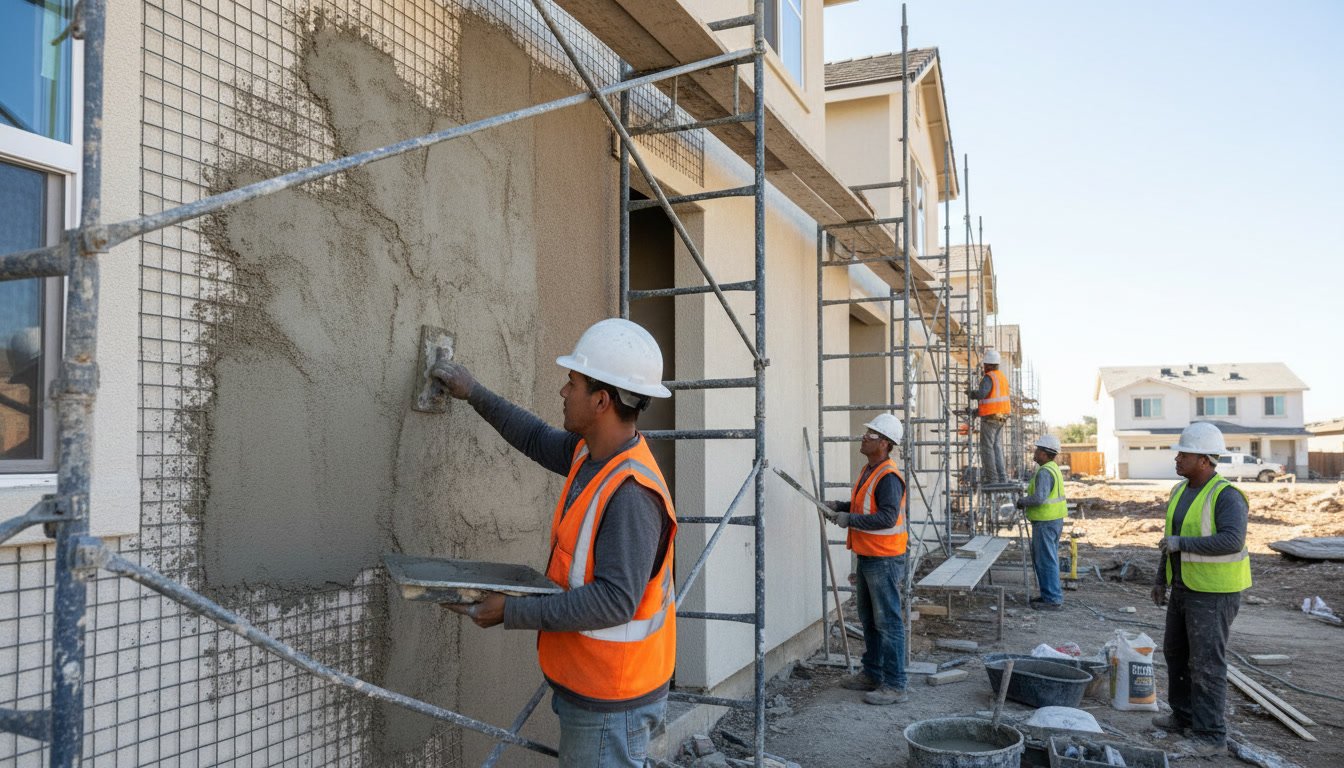
Modern stucco systems incorporate drainage planes and weep screeds at the base to manage moisture. Cracks often appear at stress points like window corners, so experienced crews embed fiberglass mesh in the base coats and install control joints at logical break points. Color-matched caulking seals the joints between stucco and dissimilar materials like windows, doors, and trim.
Exterior Painting Preparation and Application
Painting is never just about applying color. Surface preparation determines how long the finish lasts. All wood and composite surfaces need thorough cleaning to remove dust, oils, and mill glaze. Bare wood requires a primer coat before finish paint. Caulking fills gaps at trim joints, siding seams, and anywhere two materials meet.
Premium exterior paints now include mildewcides and UV blockers that extend the life of the finish in humid, sunny climates. Two finish coats provide better coverage and durability than a single heavy coat. Spraying is faster for large flat areas, but corners, trim, and detail areas often require brush and roller work for proper coverage and adhesion.
Hardscaping Sequence From Driveways to Walkways
Concrete driveways, walkways, and patios go in after the home is substantially complete to avoid damage from construction traffic. The sequence typically starts with excavation and base preparation, then forms and rebar placement, followed by the concrete pour. Finishing techniques range from simple broom finishes to decorative stamped or stained surfaces.
Pavers offer an alternative that allows for easier repairs and better drainage. Paver installation requires a compacted base, a sand setting bed, edge restraints, and polymeric sand swept into the joints. Both concrete and pavers need time to settle before heavy use. Driveways should cure for at least seven days before vehicles park on them.
Grading and Drainage Management
Final grading shapes the soil around your home to direct water away from the foundation. The ground should slope at least six inches over the first 10 feet from the foundation wall. Swales, berms, and drainage pipes capture and redirect water to street drains or retention areas.
Poor grading is one of the most common defects in new construction and leads to wet basements, foundation settlement, and erosion. Experienced teams use laser levels to verify slopes and conduct a water test before calling for final grade inspection. This step often gets rushed at the end of a project, but cutting corners here creates expensive problems later.
Step by Step Landscaping Installation Process
Landscaping is the final exterior finish step and follows a logical sequence:
- Irrigation system installation with heads, valves, and controllers
- Topsoil placement in planting beds and lawn areas
- Tree and shrub installation starting with larger specimens
- Mulch or rock application in planting beds
- Sod installation or seeding for lawn areas
- Edging installation to separate lawn from beds
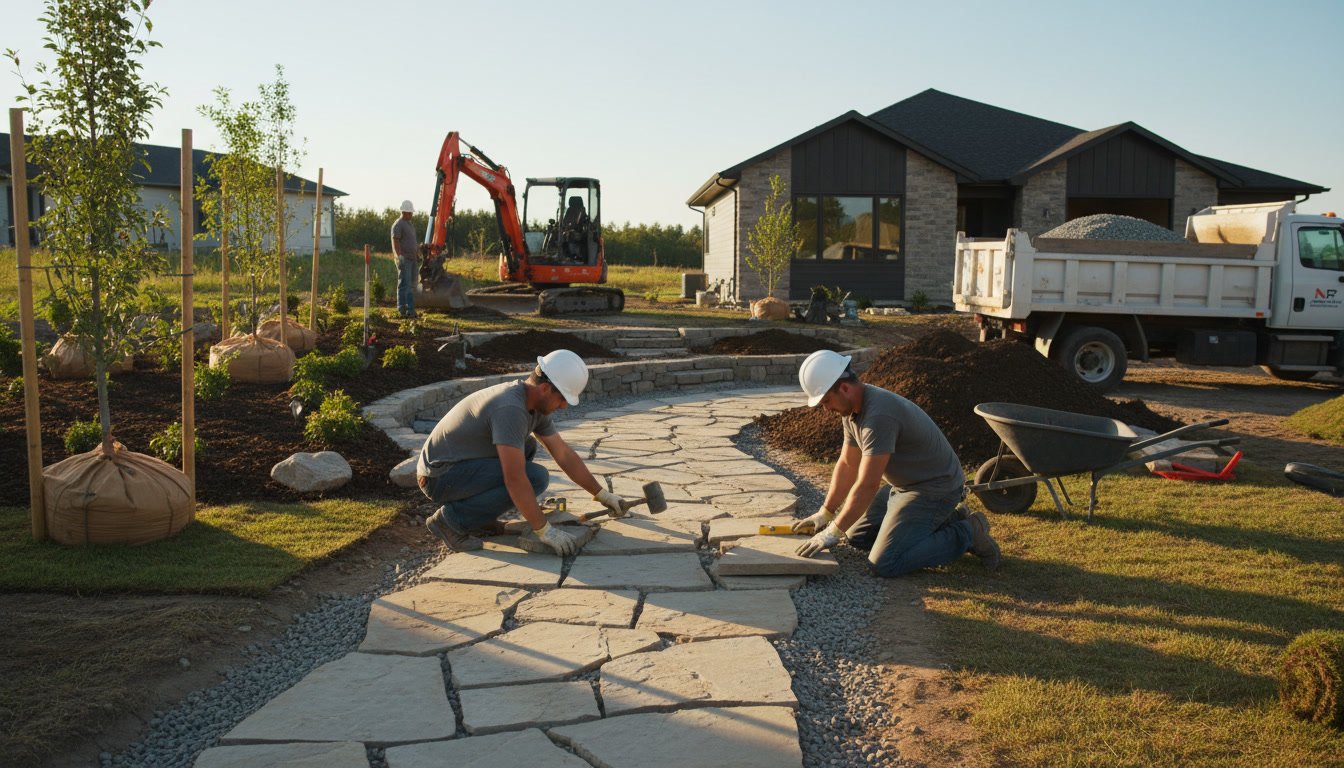
Plant selection should account for mature size, water requirements, and maintenance needs. Native and Florida-friendly plants require less irrigation and fertilizer once established. Irrigation systems must comply with local water management district rules, often including rain sensors and zone controllers that adjust watering based on actual conditions.
The landscaping crew also installs exterior lighting, which may include path lights, accent lights for trees and architecture, and security lighting at entries. Low-voltage LED systems have become standard for their energy efficiency and long lamp life.
Bringing Your Vision to Life With Professional Oversight
The exterior finish phase brings together multiple specialized trades working in a tight sequence. Successful completion requires a general contractor who understands how each trade depends on the one before it and who maintains the quality standards that make the difference between a house and a home built to last.
Edmunds General Contracting combines Fortune 500-level project management with hands-on carpentry expertise to coordinate every detail of the exterior finish phase. From the first layer of weather barrier to the final plant installation, each step receives the attention it deserves.
If you are planning a custom home building project in Southeast Florida, professional oversight during the exterior finish phase protects your investment and ensures your home looks as good as it performs. Reach out to discuss your project timeline and how we manage the critical exterior finish stage at +15618954016.